

 7
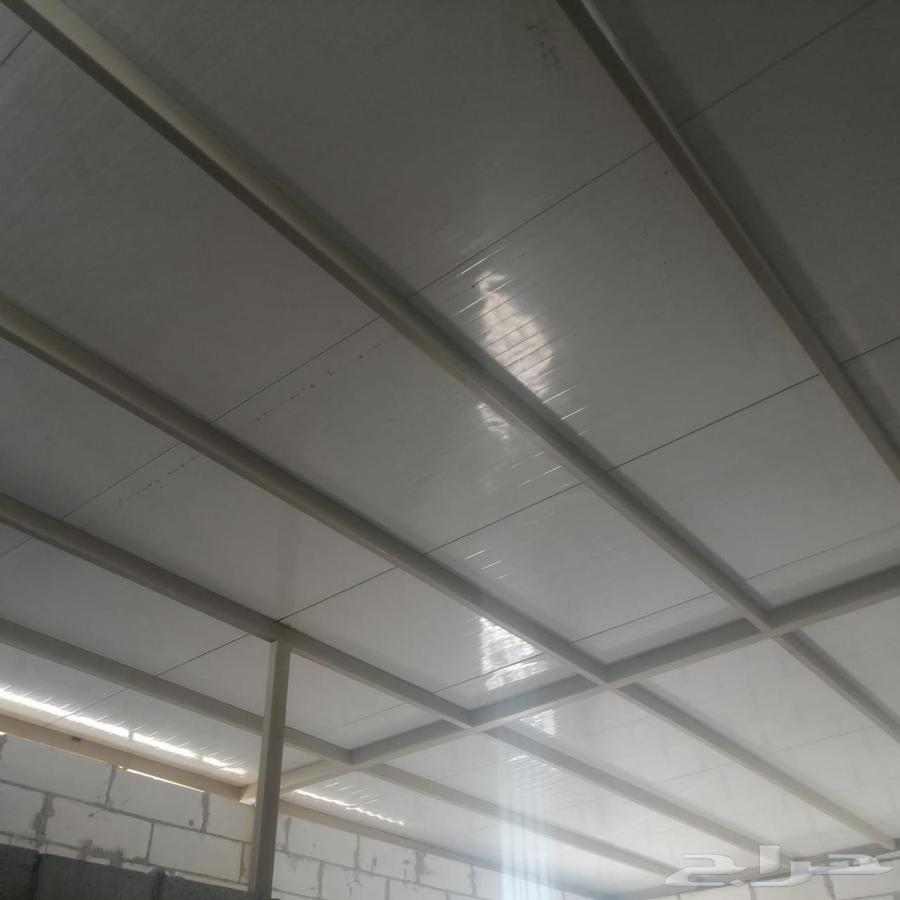
7A comprehensive guide to professional sandwich panel installation Installing sandwich panels is one of the most important steps in constructing modern facilities, whether for warehouses, factories, or even residential and commercial buildings. Choosing the correct installation method ensures excellent thermal insulation, resistance to moisture, and long-term building sustainability. Correct Steps for Installing Sandwich Panels 1. Preparation before installation Verify measurements of the steel structure or metal frame. Clean the surface from dust and oils to ensure ideal panel adhesion. Inspect all panels and confirm there are no scratches or cracks. 2. Selecting the appropriate panel Sandwich panel types vary according to application: thermal insulation, sound insulation, fire resistance. Choose the appropriate panel thickness according to building requirements. 3. Installation methods Vertical installation: used for high walls and provides an elegant appearance. Horizontal installation: common for roofs, ensuring panel overlap to guarantee waterproofing. 4. Panel fixation Use special metal screws or manufacturer-recommended fastening clips. Leave an appropriate gap between each panel to allow for natural material expansion. 5. Final inspection Ensure the roof or wall is fully covered without gaps. Check insulation and confirm there is no air or water leakage. Clean the surface after installation and remove any debris. Important tips for sandwich panel installation Rely on a specialized team to minimize errors. Use quality-guaranteed tools for panel fixation. Follow the manufacturer's manual for each panel type. Summary Professional sandwich panel installation is not merely placing panels; it is an integrated process involving preparation, selecting the right type, precise installation, and final inspection. Following the correct steps ensures a durable, highly efficient insulated final product and extends the building's lifespan
